
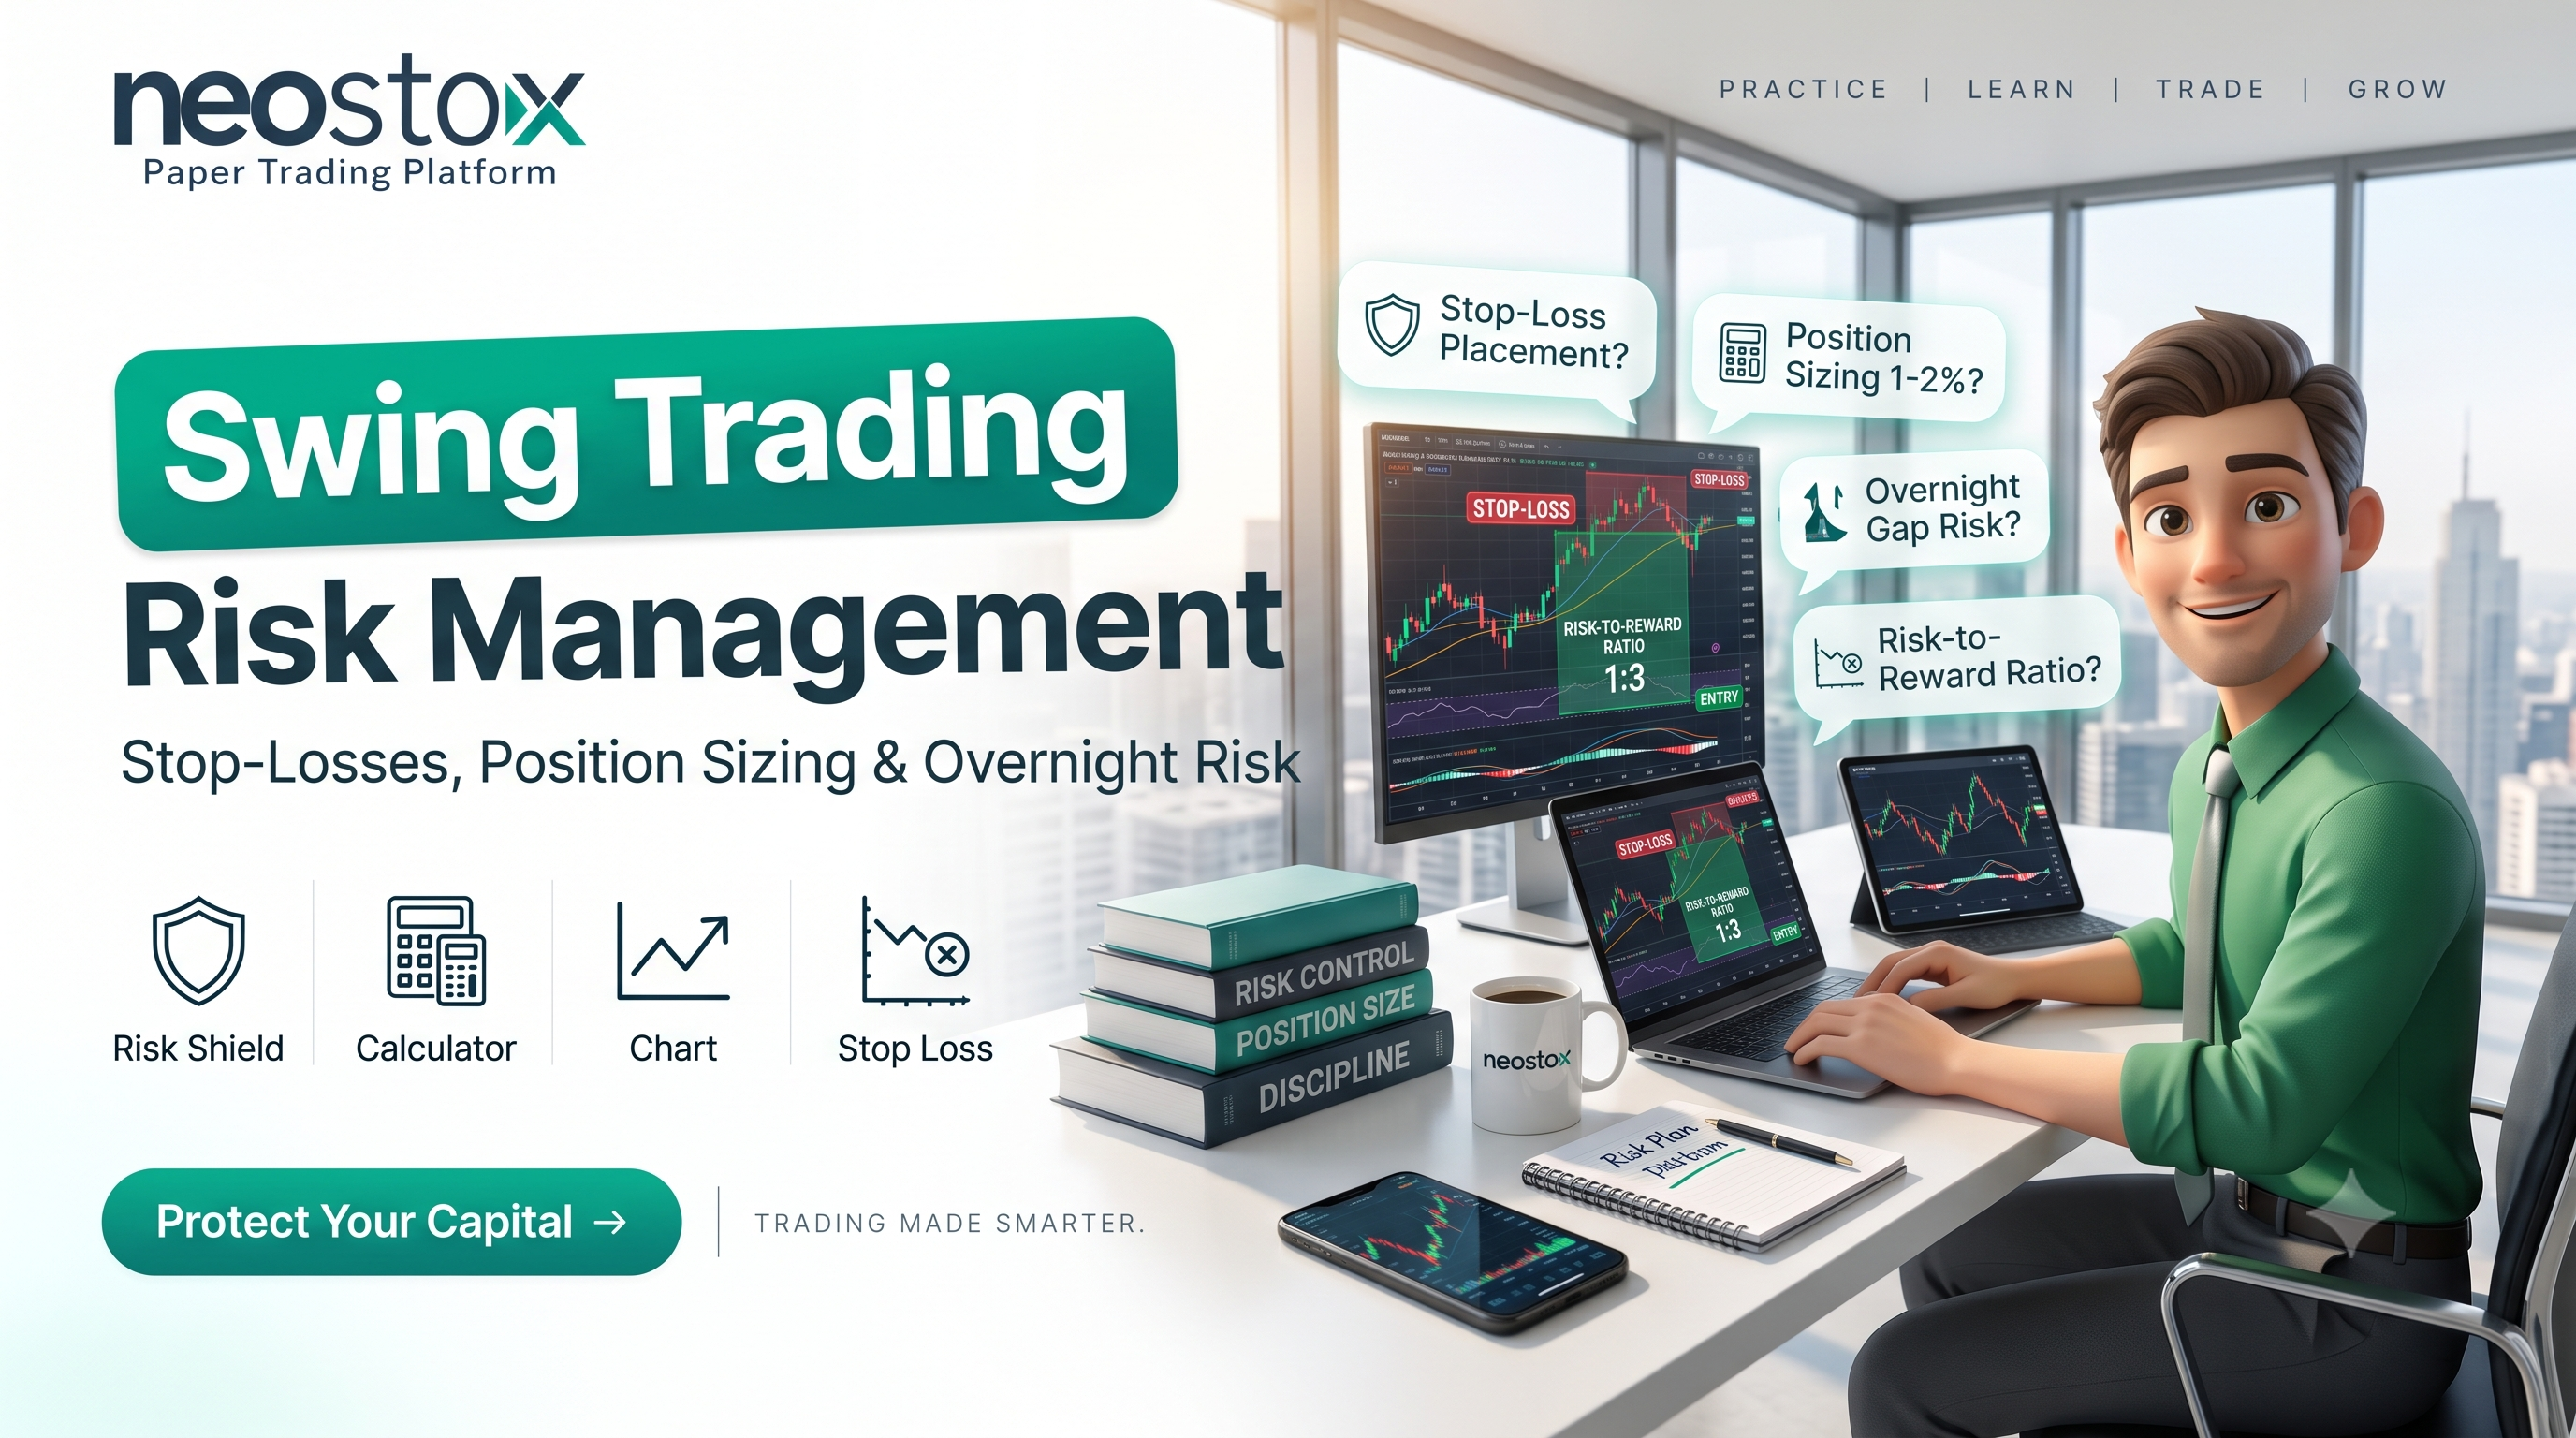
What is swing trading risk management?
It's the specific set of decisions that control how much a single trade, or your account overall, can lose while a position stays open across multiple days. Because a swing trade isn't closed by the end of the session, unlike day trading, it stays exposed to price moves happening while you're not actively watching, including overnight and over weekends.
That extended exposure is exactly why swing trading risk management needs its own dedicated framework, not just a smaller version of day trading risk rules. Stop-loss placement, position sizing, and awareness of gap risk all matter more here specifically because of that multi-day exposure window.
How should a stop-loss be determined?
A stop-loss goes at the specific price that invalidates your original setup, not at an arbitrary percentage or round number. If you entered a pullback trade because price held above a support level, your stop belongs just below that support, the exact point where your original reasoning for the trade is proven wrong.
Volatility matters here too. A more volatile stock naturally needs a wider stop to avoid getting shaken out by normal price noise, while a calmer stock can use a tighter one. ATR, covered in a companion guide on swing trading indicators, gives you a concrete way to adjust stop distance based on an instrument's typical movement, rather than guessing.
How does position sizing work? How do I calculate position size from my stop-loss distance?
Here's the core relationship underneath everything in this section:
Maximum intended trade loss = capital allocated to risk.
You decide, before entering, exactly how much money you're willing to lose if the trade fails, commonly a small, fixed percentage of your total account, and that number becomes your risk budget for the trade. From there:
Position size = risk budget ÷ stop distance per share.
Stop distance is simply the difference between your entry price and your stop-loss price. Divide your risk budget by that distance, and you get exactly how many shares you can hold while keeping your actual rupee risk fixed at the number you chose upfront.
This produces one important, often-missed relationship. A greater stop distance means a smaller position size, for the same intended monetary risk. Wider stop, fewer shares. Tighter stop, more shares, for the exact same rupee amount at risk. Position size and stop distance move in opposite directions specifically because your risk budget is the fixed constraint, not your share count.
A worked example
Say your trading account is ₹5,00,000, and you've decided to risk 1% of your account on this specific trade, ₹5,000, your maximum intended trade loss.
You're entering a stock at ₹500, with your stop-loss placed at ₹480, based on a support level just below your entry. Your stop distance is ₹20 per share.
Position size = ₹5,000 ÷ ₹20 = 250 shares.
If the stock hits your stop, you lose ₹20 × 250 shares, exactly ₹5,000, matching your intended risk. Notice this is different from your total position value, 250 shares at ₹500 is ₹1,25,000 deployed, considerably more than your ₹5,000 risk amount. Risk and position value are two different numbers, worth keeping separate in your head.
Now say the same setup, same ₹5,000 risk budget, but a more volatile stock needs a wider stop, ₹40 instead of ₹20. Position size = ₹5,000 ÷ ₹40 = 125 shares, half the quantity, for double the stop distance, keeping your actual rupee risk identical at ₹5,000 either way.
What is risk-reward ratio? How are profit targets determined?
Risk-reward ratio compares your potential gain to your potential loss on a trade, calculated as your target distance divided by your stop distance. In the example above, a stop distance of ₹20 paired with a target 60 rupees away, say ₹560, gives a risk-reward ratio of 3:1, three rupees of potential gain for every rupee risked.
Profit targets typically get set at the next meaningful support or resistance level, or based on a chosen risk-reward ratio you're comfortable with, decided at the same time as your stop, before you enter, not adjusted mid-trade based on how you're feeling once the position's open.
What is overnight gap risk? Can a stop order guarantee the expected exit price?
Overnight gap risk is the defining risk of swing trading that day trading simply doesn't carry. Because a swing position stays open through the night and across weekends, news, earnings, or global market moves that happen while Indian markets are closed can cause a stock to open the next session meaningfully above or below where it closed, gapping straight past levels entirely, including your stop-loss.
No, a stop order can't guarantee your expected exit price, and this is exactly why. A stop-loss triggers once price reaches your specified level, but if the stock gaps down and opens below that level entirely, your order fills at the next available price, not your stop price, potentially a considerably larger loss than you'd planned for. This is genuinely different from day trading, where positions close before this kind of overnight news risk can even apply.
Accepting this risk isn't a mistake, it's the deliberate tradeoff covered in a companion guide comparing trading styles, swing trading accepts gap risk specifically in exchange for capturing moves a same-day close would miss. What matters is knowing it's there, and sizing positions with the awareness that your actual worst-case loss on any single swing trade could exceed your planned risk if a significant gap occurs.
How does volatility affect position sizing?
Directly, through the stop-distance side of the position sizing formula covered above. More volatile stocks require wider stops to avoid getting stopped out by normal price swings that don't actually invalidate the setup, and a wider stop, at the same risk budget, mechanically produces a smaller position size. Less volatile stocks allow tighter stops and correspondingly larger positions for the same rupee risk.
This is why checking a stock's typical volatility, through ATR or simply its recent price range, matters before deciding position size, not after.
How should multiple positions be managed? Why do correlated positions increase overall exposure?
Managing several swing trades at once means thinking about total portfolio risk, not just each position's individual risk in isolation. If you're risking 1% on five separate trades, that looks like 5% total risk on paper, but that number only holds up if the five positions are genuinely independent of each other.
Correlated positions break that assumption. Two IT sector stocks, both risking 1% each, might look like diversified 2% total risk, but if a sector-wide selloff hits both at once, they're likely to move together, functioning more like one concentrated 2%-plus bet than two independent ones. Check for sector overlap, and broader market correlation, across your open positions, not just each trade's individual risk number, to get an honest read on your actual total exposure.
What risk-management mistakes should traders avoid?
Moving a stop-loss further away once a trade starts going wrong, hoping to avoid taking the loss, turns a planned, sized risk into an unplanned, larger one. Ignoring gap risk entirely, assuming your stop guarantees your exact exit price, leads to unpleasant surprises exactly when a position is already working against you.
Sizing positions based on conviction rather than stop distance breaks the entire formula this guide is built around, "I feel good about this one" isn't a risk calculation. And ignoring correlation across multiple open positions means your real portfolio risk is quietly larger than the sum of your individual trade risks suggests, especially during a broad market or sector-wide move.
Running this math on paper is one thing. Watching a position actually gap overnight, or feeling what correlated positions do during a real sector move, sinks in differently. Neostox's paper trading runs on live NSE and BSE market conditions across equities, futures, and options, letting you practice position sizing, stop placement, and multi-position management with virtual money, including seeing genuine overnight gap behavior before any of it involves real capital.